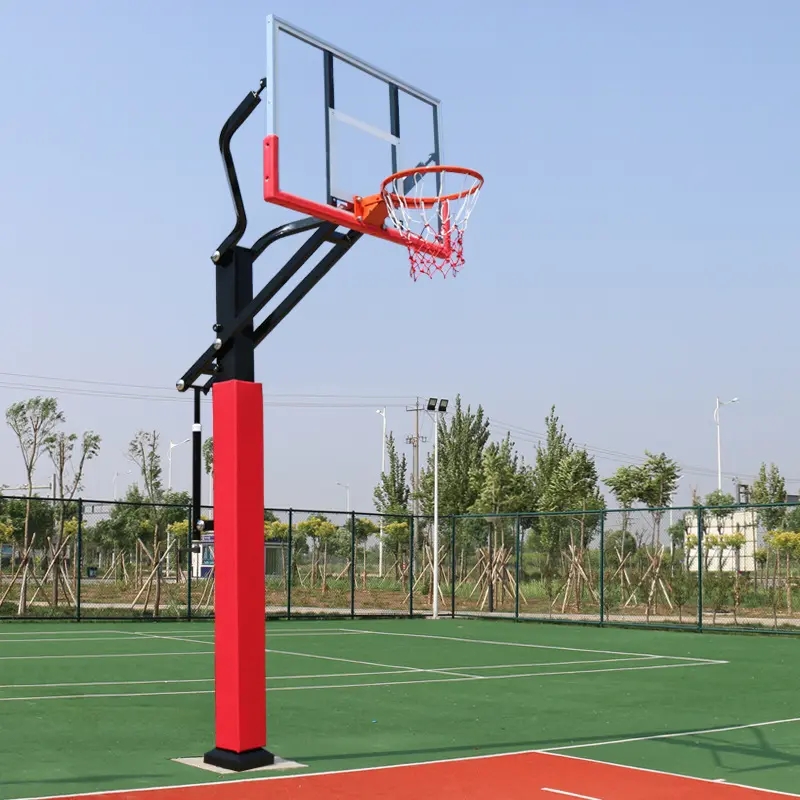
88 visitsInstalling an in-ground basketball hoop can be a rewarding project for any sports enthusiast looking to enhance their backyard or playground with a professional-grade setup. Not only does it provide hours of fun and exercise for the whole family, but it also adds value to your property. Here's a step-by-step guide on how to install a basketball hoop in-ground, ensuring a sturdy and safe structure for years to come.
1. Plan Your Location
Measure and Mark: Start by deciding the ideal location for your hoop. Consider factors such as sunlight, proximity to the house or garage, and any potential obstacles like trees or fences. Measure the area to ensure there's enough space for playing without interference. Mark the boundaries with stakes or spray paint.
Check Regulations: Before digging, make sure to check with your local authorities about any zoning restrictions or permits required for installing an in-ground hoop.

2. Prepare the Ground
Clear the Area: Remove any debris, grass, or rocks from the marked area. Use a shovel or lawnmower to clear the surface.
Level the Ground: Ensure the area is as level as possible. You may need to add or remove soil to achieve this. A level surface is crucial for the hoop's stability.
Compact the Soil: Once the area is level, use a tamper or a roller to compact the soil. This will help prevent settling over time.
3. Dig the Hole
Measure Depth: Refer to the manufacturer's instructions for the recommended depth of the hole. Typically, in-ground hoops require a hole of at least 3 to 4 feet deep and wide enough to accommodate the anchor system.
Dig Carefully: Use a shovel or post-hole digger to dig the hole. Ensure the sides are straight and the bottom is flat.
4. Install the Anchor System
Assemble the Anchor: Follow the manufacturer's instructions to assemble the anchor system. This usually involves attaching the anchor plate to the vertical pole and any required braces.
Lower Into the Hole: Carefully lower the assembled anchor and pole into the hole, making sure it's centered and vertical.
Secure the Anchor: Fill the hole with concrete, following the mix ratio specified by the manufacturer. Use a trowel to level the concrete around the anchor, ensuring there are no air pockets. Once the concrete is poured, insert a wooden stake or use a level to ensure the pole remains vertical as the concrete sets.
5. Allow Concrete to Cure
Curing Time: Follow the manufacturer's recommendations for allowing the concrete to cure. This can take anywhere from 24 hours to several days, depending on the weather conditions.
Protect the Area: During this time, avoid any activities that could put pressure on the pole or disturb the concrete.
6. Attach the Hoop
Assemble the Hoop: Once the concrete is fully cured, you can attach the hoop to the pole. Follow the manufacturer's instructions for this process, which may involve tightening bolts or using specialized tools.
Adjust the Height: Most in-ground hoops allow for height adjustment. Use the provided mechanism to set the hoop at the desired height, usually between 8 and 10 feet.
7. Final Checks and Enjoy
Test the Stability: Give the hoop a gentle shake to ensure it's securely anchored. If any adjustments are needed, make them now.
Inspect Regularly: Check the anchor system and bolts periodically to ensure everything remains tight and in good condition.
Enjoy Your Hoop: Congratulations! You've now successfully installed your in-ground basketball hoop. It's time to grab a ball and start shooting some hoops.
Installing an in-ground basketball hoop may seem daunting, but with proper planning and attention to detail, it can be a relatively straightforward process. By following these steps, you'll have a durable and safe hoop that will provide endless hours of fun for years to come.